
Introduction
If you haven't checked our other guide(s) about Anomaly Interception, make sure to drop a view


Kraken in Anomaly Interception is an Iron Boss weak to Wind Nikkes. It is farmed the most due to its extra custom module drops. This guide will go over:
- Boss HP and Rewards
- Best Nikkes and Teams
- Bossfight Breakdown and Tips
- Gameplay Videos
Boss Rewards
Rewards scale with how much damage you do, with significant improvements at Stages 3 and 6 and reaching their max at Stage 7.
| Stage | Reward |
|---|---|
| Stage 1 | 0 ~ 178,000,000 Damage |
|
| Stage 2 | 178,000,001 ~ 475,000,000 Damage |
|
| Stage 3 | 475,000,001 ~ 890,000,000 Damage |
|
| Stage 4 | 890,000,001 ~ 1,364,000,000 Damage |
|
| Stage 5 | 1,364,000,001 ~ 2,194,000,000 Damage |
|
| Stage 6 | 2,194,000,001 ~ 3,023,000,000 Damage |
|
| Stage 7 | 3,023,000,001 ~ 4,500,000,000 Damage |
|
| Stage 8 | 4,500,000,001 ~ 5,394,000,000 Damage |
|
| Stage 9 | 5,394,000,001+ Damage |
|
Best Nikkes
There are different team variations for Kraken. You'll want at least 1 Wind unit on your team to be able to clear QTE (red circles) while Kraken is shielded. Wind DPS will have their damage boosted by a lot if they have elemental damage bonuses.
 Scarlet: Black Shadow: One of the best Wind DPS; much easier to hit hard if you have her well built.
 Liberalio: One of the best Wind DPS and she buffs SBS damage by about 30%.
 Asuka Shikinami Langley: Wille: A collab unit, comparable to SBS damage wise.
 Siren: Insane damage output for a Burst 1 Nikke. She can rival both SBS and Asuka: WILLE.
 Rei Ayanami (Tentative Name): A collab unit. Great wind DPS who mainly allows Asuka: Wille to hit even harder.
 Mana: Good damage; she can buff SBS's damage by around 30% only if there are no other charge units.
 Nayuta: High damage output for a Burst 2 Nikke, also capable of buffing the team.
 Alice: Her main role is buffing SBS's damage by around 30%.
 Rapi: Red Hood: She basically works everywhere; Kraken is no exception.
 Sakura: Bloom in Summer: Good Wind DPS thanks to the abundance of parts.
 Helm (Treasure): Mainly an option for burst gen, heal, and damage buffs.
 Noir: Usable Wind DPS for when you are lacking options.
 Mast: Romantic Maid: Gives good Distributed DMG buffs.
 Anchor: Innocent Maid: Gives good Distributed DMG buffs, although most of the time Crown + MastM is preferred.
Best Teams
Here are some example teams you can try:
Jellyfish vs Octopus
Mode: Anomaly - Kraken || Element: Wind
Characters


About the team
Liberalio takes over the spot of Asuka: Wille. The new and fastest team to clear Kraken (or stage 7 Kraken) (at least till 3rd anniversary) involves the jellyfish buffing sbs, and both of them dealing devestating damage to Kraken!
Substitutions
Maid Mast may be replaced by Nayuta or Velvet (only with siren) or Naga, Helm Treasure will steal Liberalio buff but can work too. Liberalio may be replaced with Mana or Alice or HelmT. Also using Anis means you need to cover her at some points or Kraken will kill her
Kraken - Triple DPS
Mode: Anomaly - Kraken || Element: Wind
Characters
About the team
This team combines strong Wind DPSes together to ensure high damage output. It is also the standard Kraken team formation. If you use Naga, you will have to cover her a lot during the fight because she takes extra damage for being Electric. Mast: Romantic Maid is expected to be fully invested and should Burst at 3 stacks if she gets used (Crown Burst → Crown Burst → Mast: Romantic Maid Burst → Repeat). If you end up using Rapi: Red Hood as your B1 option, do make sure you bring Helm (Treasure) along for burst regen.
Substitutions
SBS can be replaced with Rei Ayanami (Tentative Name)
Siren may be replaced with Rapi: Red Hood or Liter
Helm Treasure may be replaced with Maid Mast or Naga or Nayuta or Velvet (only with siren).
Look Ma, No Hands!
Mode: Anomaly - Kraken || Element: Wind
Characters
About the team
The team has it all: heals, shielding, damage and AoE (for shooting down missiles), which actually allows it to run full auto. This is made possible by Anchor: Innocent Maid storing the excess heals provided by Helm to survive the attack caused by failing the QTE (red circles). For this team to run properly it is very important that Helm is in the middle and Anchor: Innocent Maid is on the left side of Crown for burst rotations to line up.
This team only works at high investments with SR collection items and high synchro level (recommended 381+) to be able to survive. Reaching Boss Stage 7 is also possible if your SBS is strong enough.
Substitutions
-
Maids vs Octopus
Mode: Anomaly - Kraken || Element: Wind
Characters
About the team
No Crown? No problem! You can still do enough damage with Maids and reach Stage 9. Since they give a lot of distributed damage buffs, SBS performs super well here.
Mast: Romantic Maid should Burst with SBS or your stronger DPS.
Substitutions
Liberalio can be replaced with Asuka: Wille or Alice or Helm Treasure
Siren may be replaced with Rapi: Red Hood or Liter.
Doc Oc ft. No Pilgrims
Mode: Anomaly - Kraken || Element: Wind
Characters


About the team
Beginner-friendly team. Blanc provides comfy healing and ability to hit QTE (red circles), and you get to use whatever burst 3 you started with/invested in (if you use an electric unit, you have to cover them from attacks). Maids Mast and Anchor, or the Tia and Naga twin will perform better if you have them, but you'll need some Wind unit to deal with QTE (red circles).
Substitutions
-
Full Auto Octopus
Mode: Anomaly - Kraken || Element: Wind
Characters

About the team
High damage output by 4 Wind Nikkes and constant healing covered by Nayuta leads to very high preformance. This team setup can achieve stage 7 before the Elemental QTE on full auto (assuming Nayuta, Siren, SBS and Liberalio are all very good investment with Elemental Damage Overload Lines and Sr Collection Items, and high Synchro Level 381+), it can also easily achieve stage 9 on manual play with good investment. Velvet is completely off-burst in this team.
Substitutions
Velvet may be replaced with Mast: Romantic Maid (off-burst) or Crown (off-burst).
Boss Fight Breakdown
Kraken isn't mechanically heavy. For a TL;DR, you should:
- Bring a Wind-code Nikke.
- Play on horizontal, so you can reach the tentacles on either side easily.
- Focus on shooting the core inside the front tentacle in Phase 1 and delay destroying the front tentacle in Phase 2.
It deals extra damage to Electric Nikkes:
- 300% at Stages 1~3
- 400% at Stages 4~6
- 500% at Stages 7~9
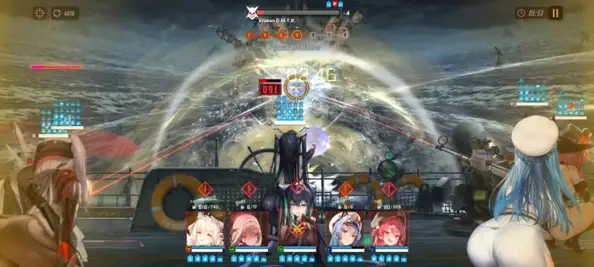
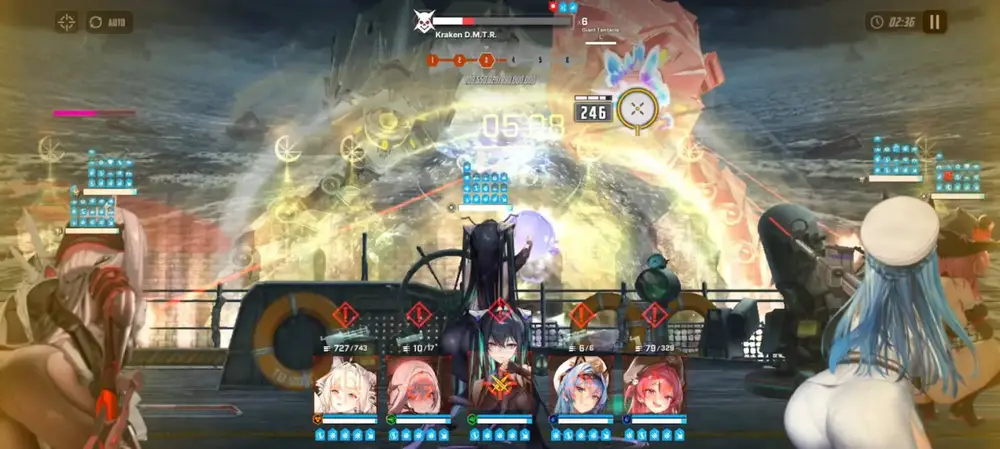
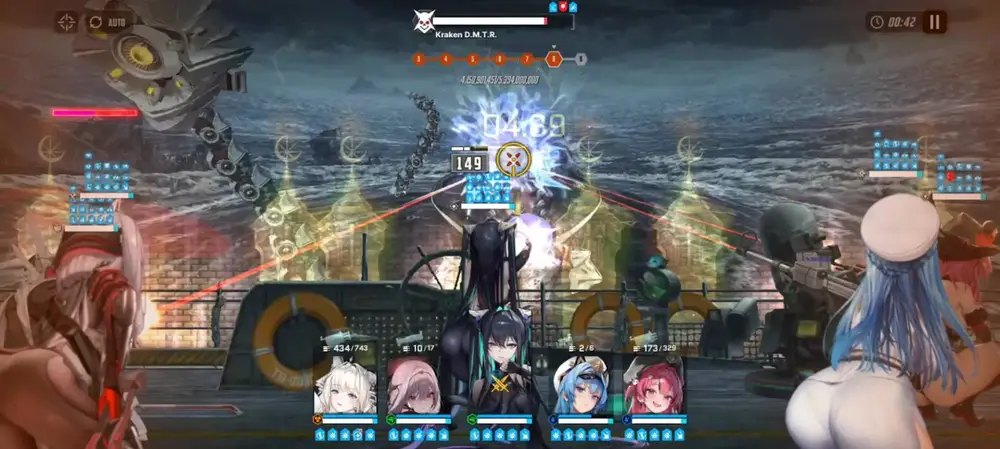
Phase I
Kraken has: A core below a layer of armor (Pierce only), Big tentacles at the front with a core, Small tentacles on the back.
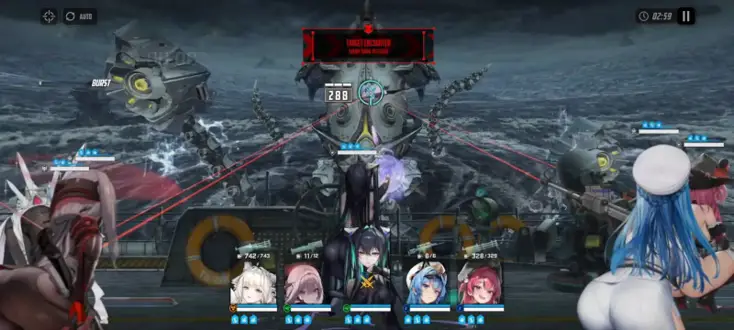
- Front tentacles charge an attack that ignores cover and shield before self-destructing.
- Don't let the front tentacle(s) succeed in attacking your team; they hit very hard.
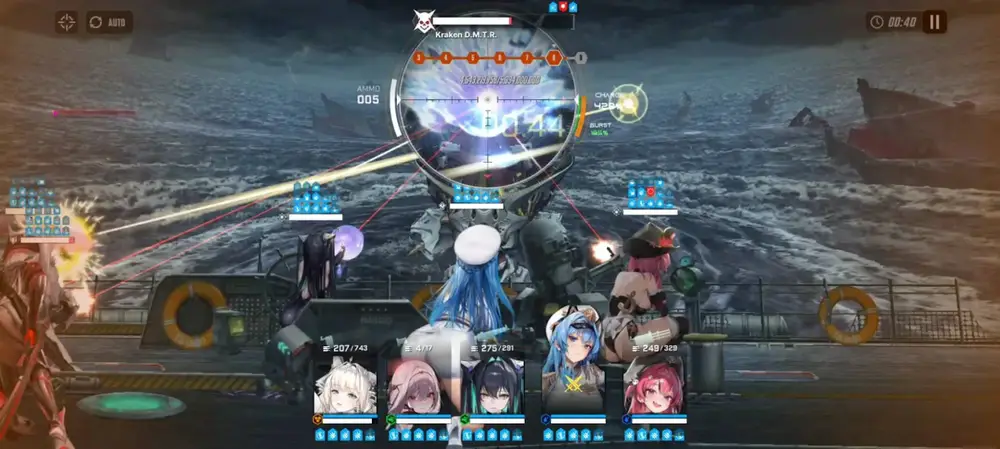
After 2 front tentacles are destroyed:
- Both front tentacles self-destructed: Fires 2 sets of missiles, then charges an AoE attack.

- Destroyed at least 1 front tentacle: Immediately charges an AoE attack.
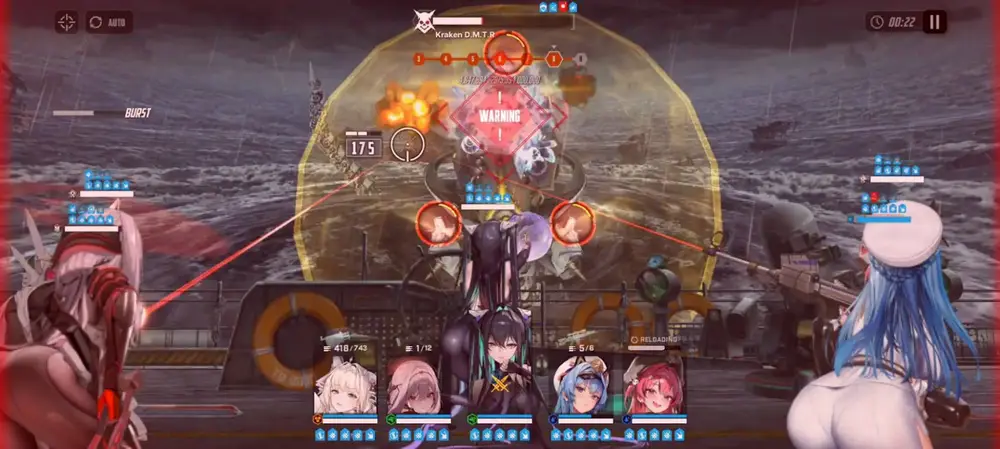
After that, it puts on an Elemental Shield. Only Wind Nikkes can deal damage through this shield.
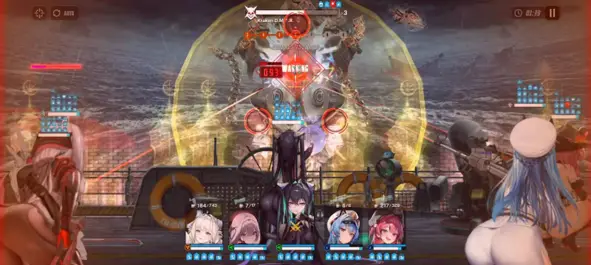
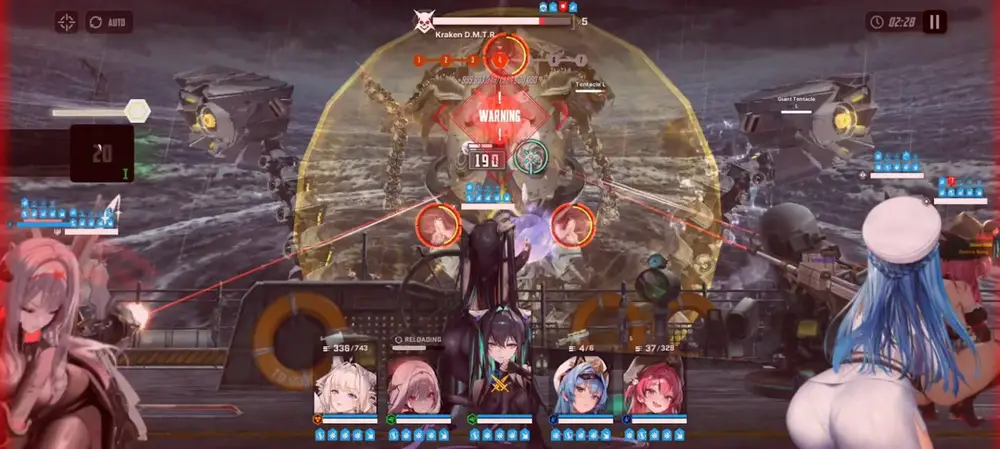
Failing the QTE results in a very powerful AoE attack that will one-shot your entire team in most cases.
Next, Kraken removes its armor, exposing the center core, then submerges for a Special QTE.
Interim
After submerging, Kraken puts up a QTE (red and grey circles). Failing results in a squad wipe.
Phase 2
Front tentacles now charge up their attack as soon as they spawn and have less HP.
After 4 total front tentacles are destroyed, if any back tentacles are alive, they fire a laser beam.
After 4 total front tentacles destroyed, 2nd Elemental Shield goes up.
Next, boss charges an AoE attack. In later Stages, this can one-shot any unprotected Nikkes.

Tips
- In Phase 1, shoot the core of the front tentacles as much as possible. Enable aim assist for easier hits.
- When the boss charges any AoE attack, make sure your units have a shield.
- In Phase 2, you can intentionally delay killing front tentacles to have more time without shield.
- The more time spent shooting core, the better.
- You can prep a Full Charge with a Sniper or RL in the last 1-2 seconds of Full Burst for quick extra burst gen.
Gameplay Videos
For visual learners, a pretty fast way to understand what to do is to watch a walkthrough/successful run:
Full credit goes to the original creators.