


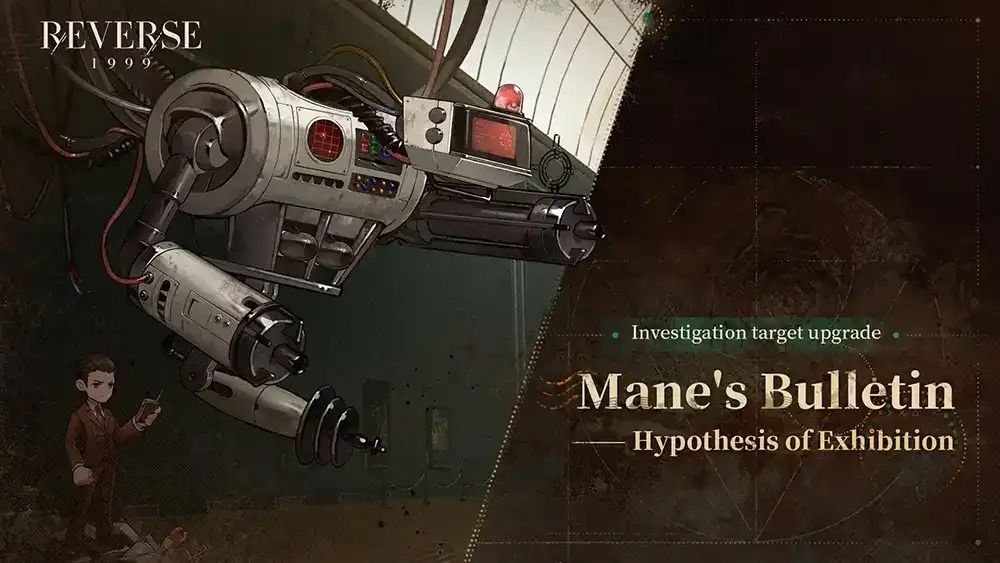
Hypothesis of Exhibition
Everything you need to know about the Hypothesis of Exhibition Raid!
Last updated: 19/08/2024
Introduction

These critters we call Hypothesis of Exhibition, Iverson Inc. or simply “Exhibition”. Its Afflatus is Plant, so you are advised to utilize Beast oriented teams while dealing with it; specifically Spathodea is good against this boss, and unfortunately Melania isn’t, due to his high Mental DEF stat.
There are a total of 4 types of enemies in this fight:
- The actual boss, called the “Strange Doctor”. This is the guy you want to hit to increase your score.
- The big robot, called “Futurism”. This is going to be the main annoying ‘mechanic’ enemy you’ll be dealing with.
- A small robot with electrical wires called “Test Bot 1”.
- Another small robot with a red light on its head called “Test Bot 2”.
Field Hazards [Endless Mode]
- In this fight, Beast and Plant characters gain +20% to their stats.
- After allies cast their Ultimate, they gain 2 layers of [Rousing Morale]. In addition, after actively casting Buff, Debuff, Heal and Counter incantations, the caster gains 1 layer of [Rousing Morale].
- After enemies cast their Ultimate, all enemies gain 2 layers of [Sturdiness].
Mechanics [Endless Mode]
- Man Behind The Scenes - When the “Strange Doctor” enters combat, at the beginning of each round, he enters the [Behind the Scenes] state. At the end of the round, if “Futurism” is in the [Daze] state, purify its [Daze] and grants 3 stacks of [Energy], then, fall into the [True Body Revealed] state for 1 round.
- → [Behind the Scenes]: When taking Reality DMG, DMG Taken -75%.
- → [Energy]: Energy required to keep machinery running.
- → [True Body Revealed]: When taking Reality DMG, DMG Taken Reduction -75%.
- and cannot enter the [Behind the Scenes] state.
- What this means is that while “Futurism” is present on the field and healthy, the “Strange Doctor” takes massively reduced Reality DMG. This may sound like an invitation to bring Mental DMG units, but the boss has high Mental DEF, so it’s worth it to try and dispel it by throwing “Futurism” into the [Daze] state. This dispels the “Strange Doctor” DMG Reduction for a turn so you can deal big damage.
- Limitations of the Mortal Body - At the beginning of the round, if there are no friendly units present, fall into the [True Body Revealed] state for 3 rounds. → [True Body Revealed]: When taking Reality DMG, DMG Taken Reduction -75% and cannot enter the [Behind the Scenes] state.
- This is the other way to get the “Strange Doctor” to break his -DMG Taken effect and also for a longer time. Essentially, you’ll be cycling between breaking [Behind the Scenes] and triggering this effect to optimize the [True Body Revealed] status up-time.
- Like the other Raid Bosses, when maximum [Eureka] is reached, the boss enters a [Shield] phase for 2 rounds before casting its Ultimate. If the [Shield] is broken, they are knocked out for a round and lose all their [Eureka].
- [Buff] Card - Increases all allied DMG Dealt for 2 rounds. Grants “Futurism” 1 stack of [Energy] and increases its Moxie by 1.
- [Debuff] Card - Mass attack. Deals Reality DMG to the 2 enemies with the highest HP and reduces their Incantation Might for 1 round. At the end of the round, if no “Test Bot 2” is present, summon a “Test Bot 2” (the maximum number of creatures on the field is 4 including “Strange Doctor” and “Futurism”)
- Fully Charged - After “Futurism” enters combat, gains 2 stacks of [Energy]; after being attacked, remove 1 stack of [Energy]. If there is insufficient [Energy] (essentially if there’s no [Energy]) after being attacked, “Futurism” falls into the [Daze] state.
- → [Energy]: Energy required to keep machinery running. This makes “Futurism” your primary target besides “Strange Doctor”. If you read back, when “Futurism” is in the [Daze] state, the “Strange Doctor” enters [True Body Revealed] for 1 round, helping you actually damage him as you slowly lower “Futurism” its health until it dies (which works towards the Limitations of the Mortal Body passive of “Strange Doctor”).
- Circuit Corrosion- At the end of the round, consume 1 stack of [Energy]. If “Futurism” is in [Burn], [Poison] or [Corrode] state when attacking, DMG Dealt -25%.
- Pretty simple to understand. Every round “Futurism” consumes [Energy] to ‘stay working’ and it deals decreased damage while under the effect of typical Damage Over Time effects, which is what makes Spathodea and Jessica teams particularly potent.
- [Ultimate] Card - Mass attack. Deals Reality DMG to all enemies. This attack enjoys extra Penetration Rate.
- [Attack] Card - Mass attack. Deals Reality DMG to the 2 enemies with the highest HP. This attack enjoys extra Penetration Rate.
This ad does not share the anti-Control passive of the “Strange Doctor” boss.
- “Test Bot 1” DMG Taken is set to 1.
- [Ultimate] Card - Mass attack. Deals Reality DMG to all enemies. Grants 2 stacks of [Energy] to “Futurism”.
- → [Energy]: Energy required to keep machinery running.
- [Buff] Card - Mass buff. Applies [Rebound] to all allies for 1 round.
- → [Rebound]: When the carrier is attacked, reflects a part of the DMG Taken back at the attacker. If the carrier is not under the effect of [Burn], [Poison] or [Corrode], grant “Futurism” 1 stack of [Energy].
- Due to its DMG Taken being set to 1, it is effectively impossible to take down properly. Instead, mitigate its most problematic effects (i.e. constant granting of [Energy]) by keeping it inflicted with Damage Over Time effects.
This ad does not share the anti-Control passive of the “Strange Doctor” boss.
- “Test Bot 2” DMG Taken is set to 1.
- [Ultimate] Card - 1-target attack. Deals Reality DMG to the enemy with the highest HP. In addition, the caster's HP -100%.
- [Debuff] Card - Mass debuff. Inflicts [Bleed] on all enemies.
- The slightly less problematic one of the two Test Bots seeing as it doesn’t provide anything dramatic or annoying to the boss itself. Keep in mind that, as a tradeoff, it deals considerable amounts of damage later on in Endless Mode, so keep this in mind.
This ad does not share the anti-Control passive of the “Strange Doctor” boss.
Teambuilding
In terms of dealing with this fight, there are 2 core teams running in this fight. One is focused on Spathodea (or Centurion) while the other is centered around Jessica and [Poison]:
Beast TEAM

Carry
Carry / Support
Support
Sustain
TEAM EXPLANATION
A team focused around the Beast Afflatus and Spathodea’s blitz into the Raid meta following her release. This team is focused around high single-target damage, with some interesting additions from one (or more) unlikely faces.
- Spathodea blasts onto the scene with her extremely high single-target damage. This may impede Melania for some players, but where Spathodea deals intermittent bursts of high damage, Melania is way better at doing high damage consistently, which offers both carries an equal niche depending on the damage type you need. Her “Ignition Point” buffs allow her to constantly stack [Rousing Morale] through the stage hazard and her consistent application of [Burn] helps with keeping incoming damage low.
- Joining at her side are An-an Lee and 6. An-an provides consistent hybrid buffing split between offense and defense, card upgrading for Tuning and AP-friendliness. 6 can be used in pretty much every team due to the versatility of his buffs, debuffs and access to semi-on-demand [Incantation Empowerment] for your Carry, which Spathodea scales exceptionally well with.
- Medicine Pocket is used here because Tooth Fairy actually really struggles in this fight due to her bad Afflatus match-up. In addition, a well-built Spathodea really doesn’t need Tooth Fairy’s help to Crit, and without Crit Conversion, she is only benefitting from the 15-25% Crit DEF shred that TF provides. On the other hand, Medicine Pocket provides a +DMG Taken debuff that always helps, consistent healing and [Sturdiness] on top of a bit of Control when applicable.
For other options:
- Centurion - Can also be used here, and can SSS the fight, however she will need either Ulu to inflict a constant stream of [Burn] on all enemies or a [Poison] applicant to keep in line with the fight’s mechanics.
- Dikke - Semi-odd due to her Mental DMG kit, her healing output is somewhat decent and her kit doing partly Genesis DMG helps with actually poking through that high Mental DEF stat. She essentially gets away with it because she’s a healer, not a Carry.
- Tooth Fairy - While we did advise against using Tooth Fairy in this fight due to the bad matchup, she can still be used if your Spathodea is refusing to Crit and her high healing output will help the later on you go in Endless Mode.
PLANT TEAM
Carry
Support
Support
Sustain
TEAM EXPLANATION
A team focused around the Plant Afflatus and around consistency, funnily enough, providing a healthy mix of offense and defense while easily maneuvering around this fight’s mechanics.
- Jessica is here as the only 6-star Plant Carry and also a [Poison] inflictor in order to up the DMG Dealt reduction on “Futurism” and prevent it from gaining [Energy] from “Test Bot 1” (this is important the further you go into Endless Mode as things start hitting very hard).
- Joining at her side are An-an Lee and Bkornblume. An-an provides consistent hybrid buffing split between offense and defense, card upgrading for Tuning and AP-friendliness. Bkornblume instead provides Reality-based debuffs and can also inflict [Silence] with her Ultimate. This doesn’t have much effect on the boss itself due to its Anti-Control passive, but it works on the mobs for if you need to mitigate [Energy] or incoming damage.
- Sotheby is here as a second [Poison] applicant to help Jessica maximize her damage and also optimize the [Poison] up-time on “Futurism” and “Test Bot 1 / 2”. Her healing isn’t the greatest especially at lower levels, but making the DMG Dealt reduction on “Futurism” is absolutely worth it
For other options:
- Necrologist - Can also be used here, though in place of An-an, to provide a greater +DMG Dealt buff and trade the -DMG Taken buff for [Prayer]’s revival effect. In addition, her semi-on-demand dispels can help get rid of annoying [Rebound] buffs from [Test Bot 1] if you are low on health.
- 6 - 6 can be used in pretty much every team due to the versatility of his buffs, debuffs and access to semi-on-demand [Incantation Empowerment] for your Carry.
- Shamane - Is a viable pick here due to his matching Afflatus, universal DEF debuffs and decent damage output.