Workshop of Brilliant Light Deimos
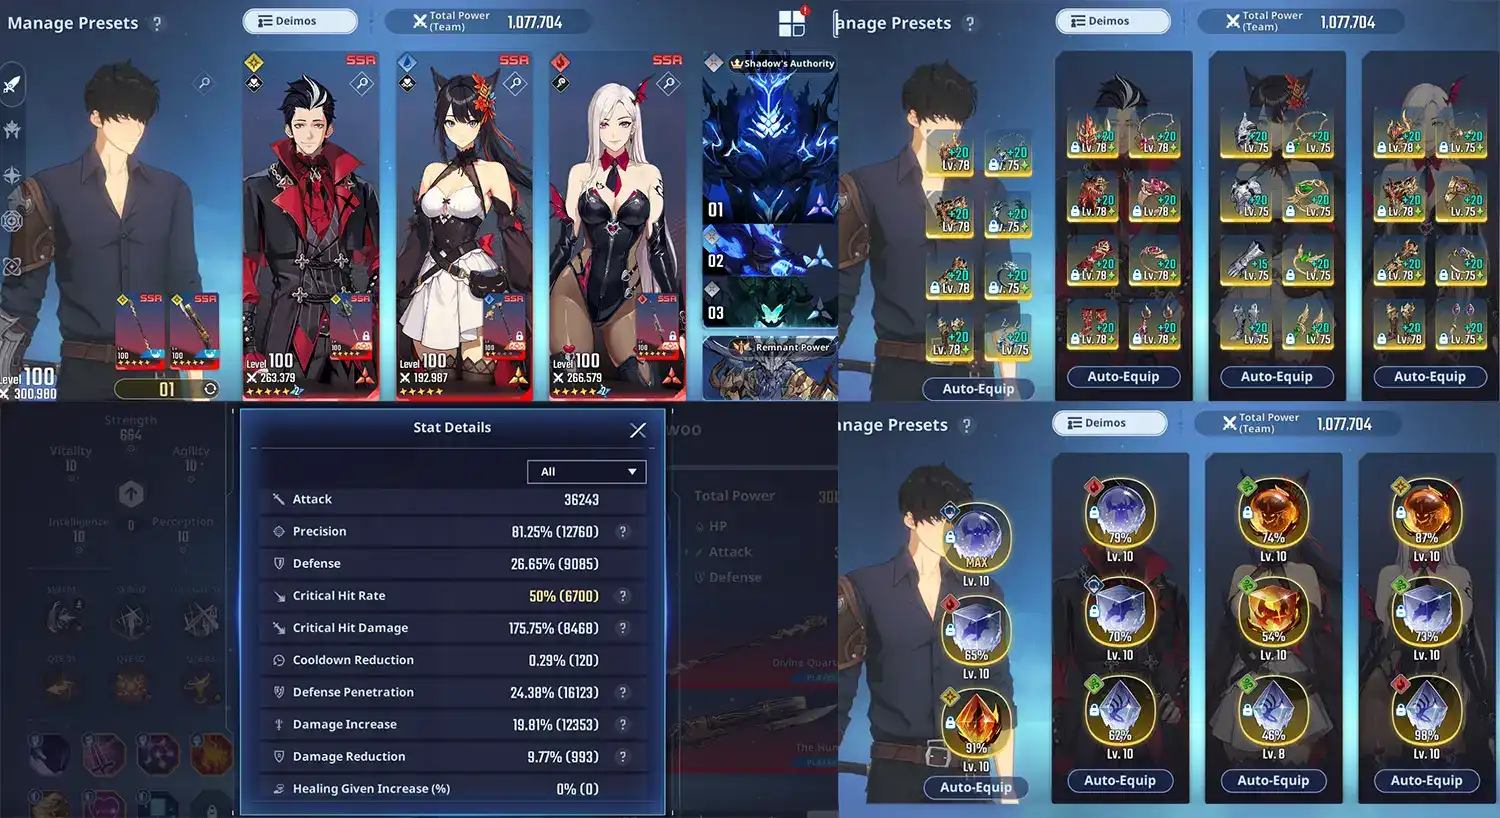
Brand new addition to the WOBL dungeons, the dungeon of the Commander of Transfiguration features a series of Bosses with especially high Defense and a lot of attacks with various forms of disruption. The key to tackling this new challenge is going to be Defense Penetration, as well as Light/Fire teams.
Alongside those new fights come new, niche Cores, as well as the materials necessary to limit break your Cores and unlock levels 11-15, offering even more raw stats.
New Blessing Stages
The Blessing stages are very different than the older WOBL, here’s what’s changed:
- You can now reroll Blessings during the fight! It’s free the first time then uses gold and is limited at 2 times per pick;
- The first stage now features 5 waves of multiple small enemies, and none of them have any break gauges. You still get the usual Blessings on waves 1, 3 and 5, which from now on we’ll call ‘Minor Blessings’. You can now build a full AOE oriented team for this stage and can ignore ST or Break;
- The second stage has become a single Boss type monster with a Break Gauge and a Channeled Skill that must be canceled with break if necessary. Beating this Stage rewards a single, very powerful Blessing that we call ‘Major Blessing’ and whose power is equal to about 3 Blessings at once.
Now let’s get to the Bosses with some explanations regarding their main gimmicks and then a few tips and advice for Team Building.
Note: The HP values are not all noted down and are for Normal Mode. High damage output makes it difficult to note the exact moment a gimmick is triggered but thankfully none of the gimmicks require any specific cooldowns to be cleared.
Arch Lich
The Arch Lich functions as a pure DPS check, and while the fight is straightforward in terms of mechanics, it may completely block you from progressing further into the dungeon if your build isn’t well designed for the next series of encounters. TP is also a very important factor as too low TP will massively reduce even your Def Pen making the fight extremely difficult. It is also highly advised to use shields as his attacks are mostly disruptions with various knock backs, knock downs, etc…
Obviously, if your damage is high enough through Def Pen stacking or very high TP this isn’t going to be very relevant.
Now onto the main gimmicks:
- At about 140 HP bars left the boss teleports to the center of the arena and locks you in there with him, the goal is simply to stand in the path of the Green Orbs that he summons and absorb them 3 times;
- At around 80 HP bars left the Lich goes invulnerable and once again traps you in the center of the arena. This time around, 6 stationary Orbs are summoned and the Boss channels a laser beam following the Hunter. To beat this mechanic, simply stand in front of an Orb while the beam is prepared, then as soon as the red indicator is gone run past 2 more Orbs. The beam will follow you and clear 3 Orbs in a row. Do this twice and the mechanic is over.
Mounted Deimos
First things first, Both this Rider Deimos and the next Deimos possess a passive ability that triggers halfway through the fight and that turns Dark Damage dealt to them into Heal, so any Dark type damage ability becomes a detriment. Some weapons like Plum sword could still be considered, but you might as well pick two weapons with elemental advantage to minimize downtimes.
Rider Deimos has few special gimmicks, but is highly mobile which nerfs weapons and skills that require long ramp up or keep you immobile.
Now, onto the special gimmicks:
- At some point the Boss summons shadow cavalry that charges from one side of the battlefield to the other, not much to do here other than paying attention to where they come from as this order never changes from one fight to another, so learn the pattern and you’ll never be bothered by it again;
- When entering the last phase, Deimos stands still and summons more cavalry, this time all coming from one side only. If you have shields this is a perfect opportunity to burst the Boss as the cavalry can trigger your shadow step and Deimos has no chance of dodging your attacks, as long as you don’t get knocked down by the riders.
Deimos, Commander of Transfiguration
To start off, this version of Deimos applies Def Down with most of his attacks, weakening the popular Thomas + Go Gunhee duo, although their damage is still more than enough to comfortably clear.
This Deimos has less Defense than the previous Bosses of the Dungeon, and like Vulcan you have to beat the same Boss twice with SJW then with the Hunters when playing Normal Mode.
The Boss should be much easier to clear than the previous ones thanks to the ‘Major Blessing’ you can now acquire after beating Rider Deimos and clearing the new and improved Blessing Fight.
For the special gimmicks, although they’re pretty original there’s nothing truly threatening so far on Easy and Normal:
- The Purple Orbs: They must all be destroyed to stun Deimos, this is much easier with SJW thanks to the Ult being able to one-shot the entire gimmick. For the Hunters, as the orbs all converge towards Deimos you can simply wait for them to be packed together in front of him before starting to unleash your attacks. Orbs that get absorbed by Deimos will heal him a bit and give him a stackable Attack buff, which could disrupt your strategy if you’re using Shields to ignore his attacks, and otherwise makes your non protected carries much more likely to die. Still, you’d need to allow a lot of orbs for the buff to be threatening in our opinion. As a side note, once Deimos reappears he becomes targetable and you can damage both him and the orbs with good placement.
- Find the Purple Doors: At the start of the phase, Deimos disappears and 8 doors appear, either red or purple. Keep in mind the positions of the purple doors and once all the doors become red move from one purple door to another to avoid Deimos’ attack. Stepping into a purple door on the last blast also prevents the 4th one that happens when Deimos re-enters.
- Follow the path: Step on the Green light and reach Deimos. Stepping on the red will inflict you with a fairly big damage reduction debuff for 30sec
- The Summons: At about 115-120 HP bars left, Deimos channels a skill to summon a Demonic creature at the other end of the battlefield that periodically fires laser beams at your position, on top of 2 explosive demons on the east and west of the arena. While it is not necessary for Easy and Normal difficulties, the Summoning can be canceled by Breaking Deimos’ second Break Gauge. At the moment this requires too much timing and the Summons aren’t strong enough to justify using this strategy, but keep it in mind for the future.
- Thorn Trap: After a long channel time that can easily be interrupted with a Breaker, Deimos launches a massive AoE in the form of shadow weapons erupting from the ground covering 1/4th of the map, starting from the North. The attack will then erupt in another quarter of the map and this will repeat until the end of the encounter. While it is not mandatory to cancel it, the damage is very high and could potentially one shot Attack-based Hunters, so be careful.
Teams
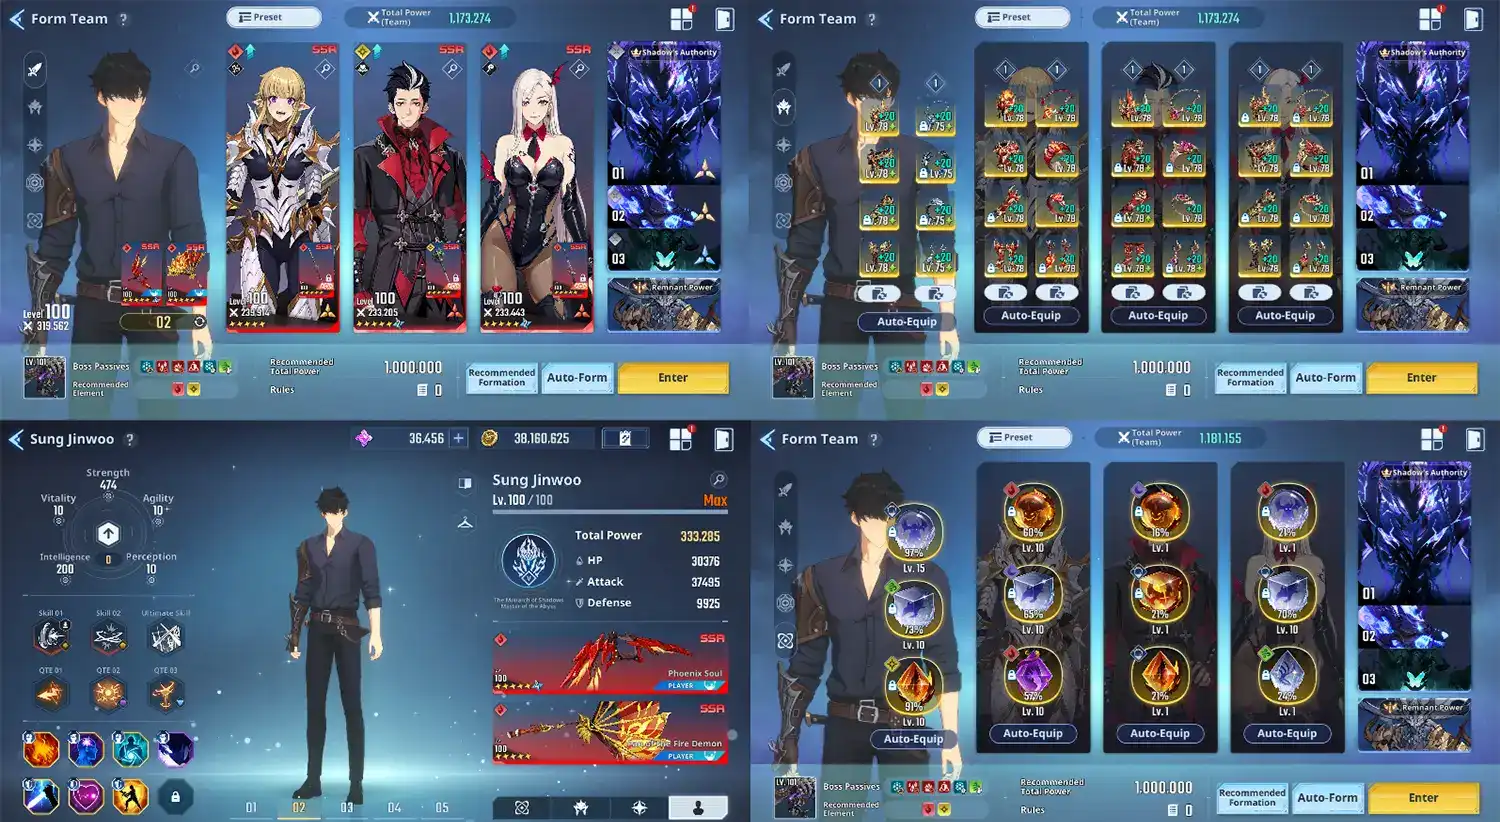
DISCLAIMER: All the Cores used in the pictures for the teams for Light and Fire Hunters are part of the 4 x 3 sets of Cores featured in our SJW Build, with proper swaps in-between each fight. Currently we only feature Light SJW Builds. Payneblade’s F2P video is not targeted by this disclaimer.
Light Element
With Light’s recent acquisitions, it is absolutely possible to clear this new WOBL with only Light attribute weapons and skills.
The Hunter team of Go Gunhee (GG) - Min/Akari - Thomas performs very well even though there are multiple nerfs put in place throughout the fights, like the advantage to Def Pen or the regular Def down debuff applied by the last Deimos fight.
When it comes to SJW, multiple setups work:
- We’ve played around with the Divine Quarterstaff + Huntsman combo, a fairly effective setup based around high Advancements in order to get the Damage bonus from Huntsman and the full charge counter from the staff;
- The Holiday event weapon, Gold-tailed Fox, is also a good option for this fight as it performs similarly to Plum but is locked to Light buffing;
- The Guild Spear is also a viable pick, and being F2P friendly makes it much easier to get to High advancement and obtain a lot of extra stats and TP. This spear alongside Gold-tailed Fox has been shown to clear Normal Mode in full F2P setups, we’ll link the video at the end of the explanations;
- For the Skills, Light Sonic Stream is a great pick for pure Damage, and for Break you can opt for either another Light Skill like Death Dance or Armor Break, or go for Fire options like Armor Break (again) or Dagger Rush to name a few;
- Supports have a lot of variety: You can use the Light Team, you can go for a traditional Min + Meilin + Breaker combo, or you can opt for 3 offensive buffers/debuffers like the team shown below, provided that you have enough Break from other sources. Choi Jong-In is also an interesting option thanks to his Def Down and so is Light Baek Yoonho. With all these options, the choice might come down to which Hunter can give you the highest TP on top of their base utility, as it is once again critical to be around or even above the recommended TP for each encounter.
The Light Hunter Team

SJW Full offensive Supports Team

Payneblade’s F2P Normal Mode Deimos Video with his own explanations and showcase:
Fire Element
Deimos released alongside Esil, the new premiere Fire Breaker and with all the Def the monsters have, Yoo the Def Pen specialist truly shines in this dungeon.
The Fire team is looking extremely strong and will probably end up being the most comfy Team to clear Hard mode whenever that releases.
With Gina - Esil - Yoo Sohyun Fire strongly capitalizes on mono element stacking as the advancements of the Hunters tend to give more buffs specifically to Fire units on top of having various Fire related debuffs applied to the enemies. Build a very strong Yoo with ample Def Pen and optimized offensive stats, then abuse the synergy of Gina and Esil’s advancements to superbuff Yoo and deal massive Burst damage every rotation.
Note however that the Team is a lot more fragile than the Def based Light Team, so you can’t afford to take too many hits to the face and you gotta keep an eye out for the many disruptions of the Boss whenever your Yoo is setting herself up.
For Fire SJW, the Fan + Bow combo is the way to go, and it is not F2P friendly so refer to the Light setup instead if you don’t own both SSR weapons at high Advancements. If you want to use the setup regardless of dupes, having much higher TP than the recommended will be key.
The Fire build is simple to play, you stack your Fan buffs and once the Fire Demon State is activated you can go to town on the boss with super powerful Skills and Core Attacks. The Boss’ Break gauge literally melts from armor break + Fan combo, so no need to bring more Breaker supports and instead go for a hybrid like Esil to buff your SJW even more.
The Blessing Stones aren’t critical aside from Reawakening and Bloodlust, Desire being completely replaceable and even sub-optimal (Legendary Pulverize, Sharp Perception, etc).

The new and improved Mono Fire Team:

If you want a video showcasing this type of Def Pen build you can check out content creator Mousu, who has already done a great video detailing how and why it works:


