Guild Raid Introduction

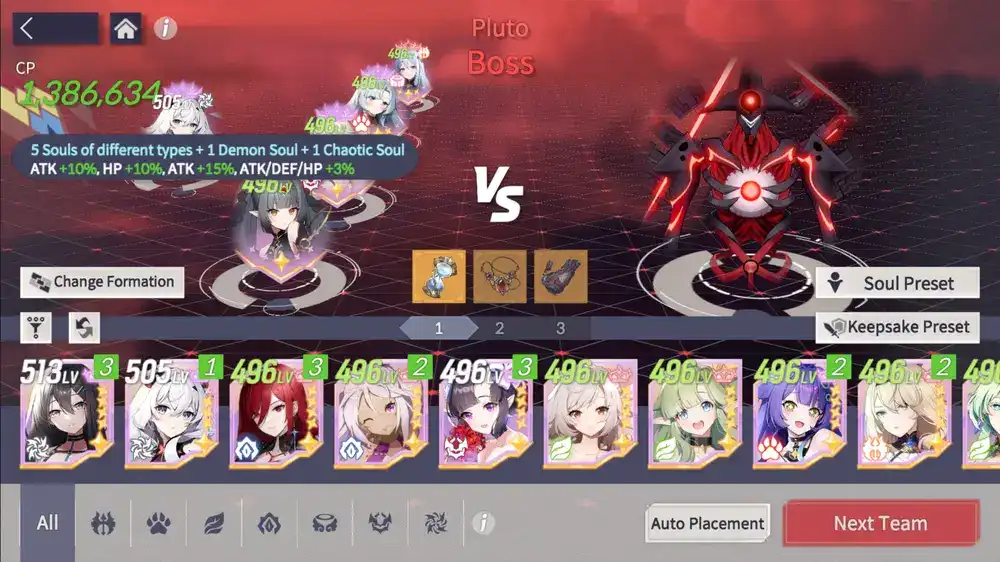
The main competitive Raid content in the game. Guild Raids are the endgame in Eversoul you build your units towards. Guild Raids feature an unkillable boss where you aim to deal as much damage as possible to it with your three teams, each with their own Unique Treasure.
There are a total of 5 Guild Bosses, each with its own unique gimmicks and strategies, with each boss rotating once every 3 weeks. Starting from the later half of 2024, Eversoul introduced Guild Raid Seasons which span over a timeframe of 18 weeks (5 Guild Raid Bosses + 1 Event Raid) with their special season wide gimmicks and treasure shuffles, bringing fresh energy to the event.
Seasons
Presently Guild Raid Season 3 is ongoing with Food Chain Reversal effect.
Bosses Mechanics Explained
Charite
Charite is pretty much the most straightforward guild raid boss we’ve gotten (and since it’s the first that probably makes sense). The most important mechanic to work around in this raid is the mana absorption - bringing characters that provide shields is imperative to doing well in this raid.
Charite’s skill rotation is short as she does not use her main skill unless her mana bar fills. Using her main skill does not break her rotation, so whenever her mana bar fills she will main skill, then continue on the rotation where she left off.
Normal > Charge > Normal > Bombardment > Absorption
The normal attacks and Charge don’t do anything special, though later in the fight when Charite has attack stacks, charge does huge amounts of damage. Bombardment puts an attack debuff on your whole team, which can be cleansed or waited out. Absorption is the big ticket mechanic to watch out for and will be explained in detail in this guide.
Bombardment (Sky lasers)

This applies a 25% attack debuff to your whole team, which can be a decent decrease in your damage if you don’t cleanse it or wait for it to wear off before using skills.
Absorption (the succ)

The main focus mechanic of this raid. When using this skill, Charite fills her mana bar over time, but if it is used on a character with a shield, it drains her mana instead. Absorption will always target the character with the highest current HP (not max), so having a specific character be the target of this ability can make your life infinitely easier. Whether the character shields themselves (Petra, Soonie) or shields others (Seeha, Catherine) a shield character is required for every team.
The skill will stun the character it targets unless the shield is up before the absorption starts, so getting the shield up before the skill is important. That said, if the shield pops after the attack has already started, the mana drain effect will still work, so a late shield is better than no shield.
Preventing Charite from using her main skill is both better for DPS (she becomes untargetable temporarily while flying into the sky to use her skill) and survival (it will likely wipe your team later in the fight). Shield characters and timings will be discussed further in the character section, as each character has different quirks with their shields.
Main skill

If you see this, you messed up.
Charite will use its main skill regardless of rotation, whenever her mana bar fills. The mana bar can of course fill via a few methods; whenever Charite uses a skill, by taking too much damage from your team, and via Absorption. Taking care to watch her mana bar while using skills is important, and a good time to unload skills if she’s close to full is during the Absorption skill, since whatever mana she gains during this time will be removed at the end (assuming she’s using Absorption on a shielded character).

Attack debuffs
Another mechanic of note is the use of attack debuffs. Charite takes extra damage while its attack is debuffed, so bringing characters with abilities that do this will also help your overall damage.

Gaia
Gaia has some very important mechanics to pay attention to, both to survive the fight and to deal optimal damage. When building teams, it will be important to incorporate units that fill specific roles which the mechanics require. Not to worry, there will be suggested characters and team composition guidelines provided!
Gaia’s rotation doesn’t deviate, as she can’t be slowed and will cast her main skill regardless of how much mana she has. This makes remembering the rotation and when certain mechanics will appear fairly easy to follow:
Normal > Roar > Karma Shackles > Normal > Thorn Waves > Obliterate
Karma Shackles (thorn cage):

Possibly the most important mechanic to deal with is Gaia’s Karma Shackles, as if you don’t prepare a target for it, it could easily kill one of your characters. This attack will target the unit with the highest HP on your team, regardless of where they’re positioned on the field. It will stun and deal damage over time to that unit for 8 seconds, which is calculated using the unit’s own Atk stat. Based on this, the ideal candidate to soak this attack for your team is a unit with high HP and low Atk, so that they don’t end up killing themselves.

After the 8 seconds are up, if the unit survives the attack (which they definitely should, otherwise you’re doing something wrong) your whole team acquires the Purified Soul buff, which raises their Atk by a huge 50%!

This of course makes it ideal to hold any skills that are queued up until after the buff is applied. More on this later.
Thorn Waves
The next mechanic is one that you’ll have to prepare for using your team formation rather than anything you do within the fight itself (except maybe if you wish to cleanse the stun, though it isn’t really worth it). The wave will only stun certain positions in the team formation, making it easy to put a specific unit in that slot to eat the stun for you so that important characters aren’t getting hit. It also allows you to limit the amount of units that get stunned to 1 rather than 3 if you use your formations correctly.

- The positions highlighted in pink are where the units will be stunned by the attack.
- As the Basic and Defense formations only have one slot being hit by the stun, they are the most ideal formations to use for Gaia.
- Avoid using Ranged or Assault formations, as you will end up having 3 units stunned.
As for which unit(s) you choose to have hit by the stun, it’s typically best for your tank (the same one being stunned by the shackles) to take the hit, however if you’re using the Basic formation, it may be best to position a support or sub-DPS unit there so that your main DPS isn’t losing DPS time. Just make sure you don’t have anyone important there!
Obliterate (charged orb slam)
Outside of having a unit to tank Karma Shackles, Obliterate is basically what teambuilding for Gaia is all about. First and foremost, mana control is (once again) hugely important. As her mana increases, Obliterate also increases in power and additional effects. Ideally, Gaia should never have more than 25% mana when casting this skill. Not only does this prevent the Obliterate skill from stunning your whole team for 5 seconds, (or worse, killing your team as the damage ramps up significantly the more mana Gaia has) but it will put Gaia in a Mana deficiency state after casting the skill.

This debuff stacks up to 3 times, increasing your team’s damage to Gaia by 36% after the boss’ third rotation, assuming you’ve properly managed Gaia’s mana.
There is also another important DPS tactic to note here, as previously hinted at in the Karma Shackles section. The 50% Atk buff received from Karma Shackles is timed to almost perfectly run out right after Gaia’s rotation ends, which is after Obliterate. However, it is possible to optimize your damage by waiting until just after Gaia casts Obliterate, but before the Purified Soul Atk buff runs out. This is only important prior to having full stacks of Mana Deficiency on Gaia, but every little bit helps!
The window for attack is small (approximately 2 seconds), but not too hard to hit if you know what to look for. When Gaia begins the Obliterate attack, she will charge up an orb of energy:

Then when Gaia unleashes the attack (hitting the ground with the first fist) is when the debuff is applied. At this point, you should have 2 seconds left on the Purified Soul buff, just enough time to fire off your hardest hitting attacks/ultimate:

Of course, if you failed to keep Gaia’s mana down, this won’t be relevant as the debuff won’t be gained, and your team will be stunned by the attack. After gaining the third stack of Mana Deficiency, this timing won’t be relevant anymore as the damage won’t be increased beyond 3 stacks, so using your skills anytime during Purified Soul is fine.
Burn
An interesting mechanic not tied to Gaia’s skill rotation is her weakness to Burn. It only affects your Physical damage, so placing a character with a burn on a team that mainly deals Magic damage won’t do much, if anything. However it is worth mentioning for Physical-dominant (Str and Dex) teams.

Earth’s Roar
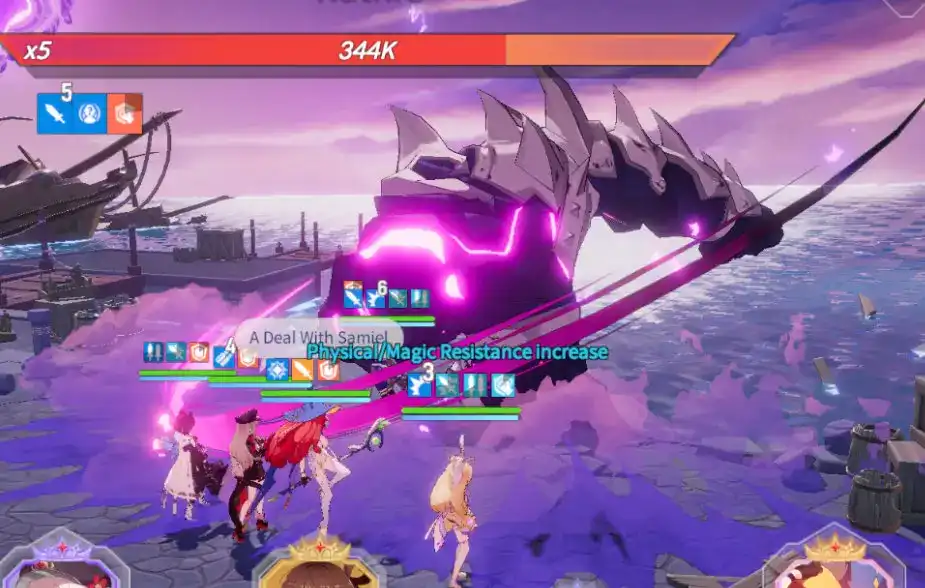
Gaia’s second attack, Earth’s Roar, isn’t particularly important in the grand scheme of things, but it does apply 15% Physical and Magic resistances to Gaia, so unleashing attacks while the buff is up will reduce their damage. It’s 12 seconds long, so waiting for it to wear off will probably result in lower DPS overall, unless your skill comes up when the debuff is nearing its end.
Rudra
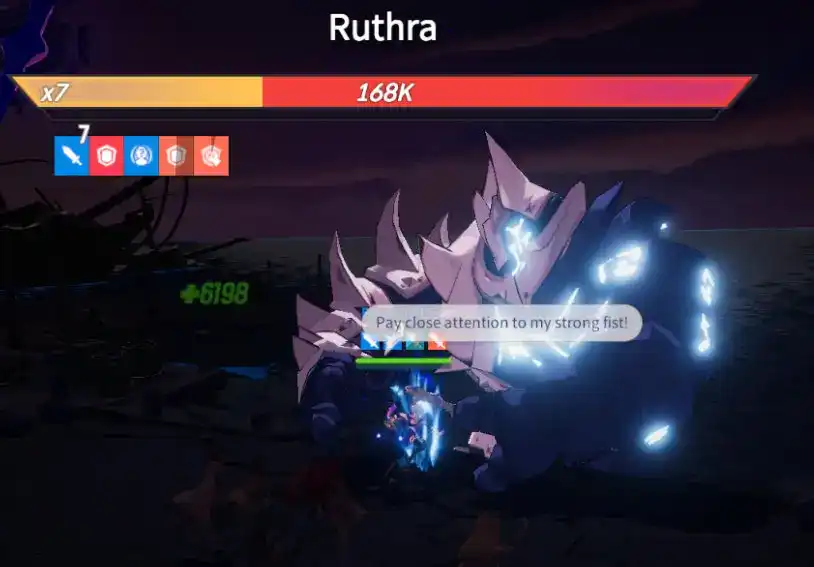
The most important aspect of this raid is Ruthra’s passive, Manipulating Causality. It makes the boss immune to almost all crits (guaranteed crit skills such as Lizelotte’s bypass this), and locks your team’s ultimate abilities, which makes the stun into DPS phase upon the boss using its main skill imperative for good overall damage.

Ruthra has a pretty simple rotation that doesn’t deviate because the boss doesn’t care about mana and can’t be speed reduced. The skill order is as follows:
Normal > Smash > Normal > Dissolve > Normal > Punishment > Main skill
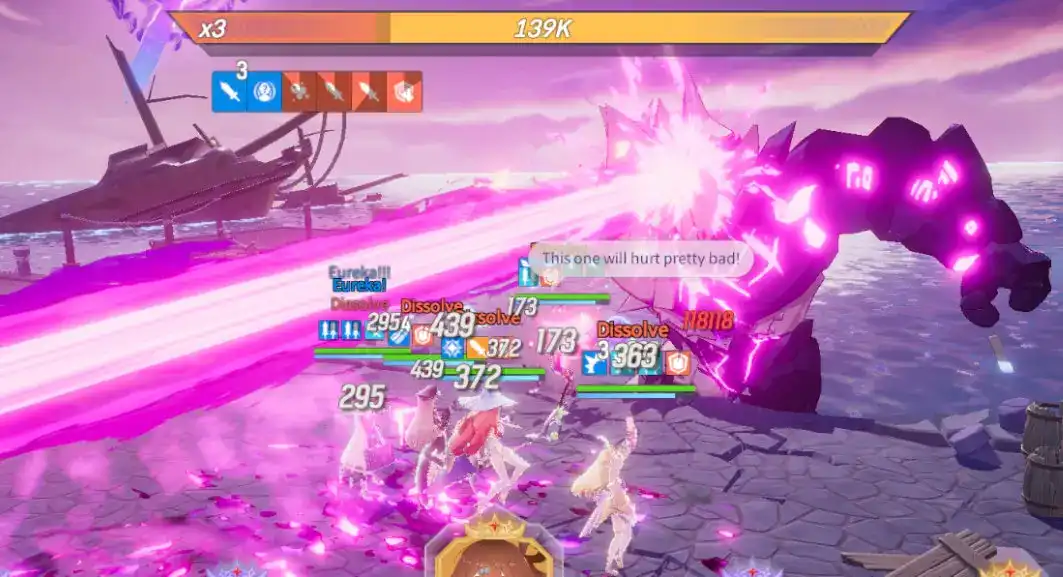
The normal attacks and Smash don’t do anything of note, but Dissolve will debuff your team’s defense and applies crit vulnerability, Punishment will debuff their attack, and the main skill is very important as this is when you need to use a skill that stuns to interrupt the boss for the DPS phase.
Dissolve (giant eye laser):

This will apply the first debuffs to your team, but for the most part you can just ignore this one because the more punishing debuff is the attack down that comes after.

Punishment (Two arm swings where his fists rocket off):

This attack debuff really hurts your DPS units as it is applied right before the DPS phase, so you’ll definitely want to bring a unit with a cleanse to get rid of it right away. Examples of cleanse units will be discussed in the recommended units section of this guide.

Main skill:

The most important mechanic in this raid revolves around Ruthra’s main attack. After using Punishment, Ruthra’s rune lights will turn from purple to blue and she will start to summon a large orb of light which will manifest a large sword of light that she shanks you with. Just after the runes turn blue, the boss becomes vulnerable to skills that stun. At this point, if you do not stun the boss, it will use its main skill which not only hurts, but will cause your team’s DPS to suffer by missing the DPS phase. Watch for this icon to appear on the boss’ status bar:

Using a stun during this debuff will apply a CC to the boss that stuns it, causes all attacks against it to be guaranteed crits, and unlocks your team’s ultimate abilities. It also gives the boss crit damage vulnerability. This is the point where you want to unload all your DPS skills (the DPS phase).

It is important to note that although the boss does not attack any faster or slower based on your actions, your reaction time on the stun mechanic can affect how many DPS phases you get! The last stun phase normally gets cut off if you’re not perfectly timing your stuns - however, it is possible to get one last stun off at around 2 seconds remaining if you are efficient with all of your stuns throughout the match. Cutting the boss’ main attack skill animation short by stunning as soon as the window is up can pay off pretty big, giving you a chance to throw out all your skills on a debuffed boss one last time before the fight ends.
Defense debuffs:
Another mechanic of note is the use of defense debuffs. Ruthra takes extra damage while its defense is debuffed, so bringing characters with abilities that do this will also help your overall damage.

Dark Knight
Dark Knight is a different kind of raid compared to the other three in that it requires AoE damage instead of focusing entirely on single target units. As always, paying attention to the mechanics of the fight will make the difference between a high raid score or an early demise.
Below is a quick list of the mechanics in the Dark Knight raid. Required mechanics are anything that will end the fight prematurely if you don’t use them. Optional mechanics are things that will raise your damage, but aren’t strictly necessary for a successful run.
Required mechanics
- Melee units (1+)
Optional mechanics:
- AoE damage
- Shield
- Taunt
Total Darkness (Passive)

The first thing of note when building Dark Knight teams is the melee requirement. Teams will often have at least one melee character just by default, as building full ranged teams isn’t common, however it is a requirement in this raid to have at least one melee character. (Mid-range characters such as Talia do not count) Without at least one character in melee range of the boss, he will spam his “Despair” sub-skill, which places stacks of “Brand of Despair” on your team. At three stacks, your units will die instantly, ending the fight about 6 seconds in.
Aside from this unavoidable instant death mechanic, the amount of damage your team takes will also be defined by how many melee characters are on the team. With only 1, Dark Knight’s damage will be tripled, and with 2 it will be doubled. Running a team with 1-2 melee units is perfectly possible, however if you find yourself dying frequently, it may help to add more melee units.
Deception (Main Skill)
The most noticeable difference between DK and other raids is the addition of his entourage. At two points in the battle, DK will vanish and summon a group of enemies, and all damage dealt to them counts as accumulated damage toward DK. This of course means that bringing AoE characters will rack up the damage quite a bit faster than relying on single target units, a pretty big change from the usual raid comps.
His main skill also has a secondary function, as when he returns from hiding he will strike your entire team with a large damage attack that stuns for 6 seconds - however the stun effect can be negated by using shields. The shields also provide a cushion against the damage, which later on in the fight when DK has accumulated a large amount of Atk stacks, could save your run.
Sever (Sub Skill)
This attack will target the unit furthest away from DK, dealing a large amount of damage and stunning them for 3.5 seconds. It is unavoidable, however it is good to consider which of your units will be taking this hit. Positioning a unit that a) can survive the damage and b) won’t hinder your run by being stunned at an unfortunate time to bait this attack is important when building your team.
Tip - You can avoid having your furthest soul hit, if you have a character who can taunt in team and with right timing, you can direct the skill to that character instead!
Taunt
This isn’t tied to any of DK’s skills, however it is definitely worth taking note of. Bringing a character that has a taunt will place a debuff on Dark Knight, allowing your whole team to deal more damage!


